Adding Logo Banners to a Location
Using Clinic Locations, you can add a logo banner to eligible SYSTOC forms and reports, and Tap2Chart forms.
To view the list, see Logo Banner for Forms and Reports.
Use the following specifications for logo banner images:
- PNG format is recommended for the best results. Other
accepted file formats are JPG or BMP. Note: The BMP format cannot be used on reports.
- 8” x 1” (768 pixels x 96 pixels). If a different size is needed, you must request a custom form or report.
- 96 dpi
- Position your logo and clinic information anywhere inside the 8" x 1" space.
Recommendations
- Be sure to include your clinic demographics when designing your logo banner. Information from the Clinic Locations screen, such as address and phone, is suppressed when using logo banners.
- Perform a test print of a form or report to be sure the logo banner prints as expected.
-
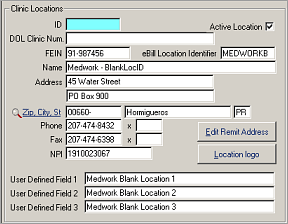
Select a location to assign a logo
banner.

-
Click Location
logo.
-
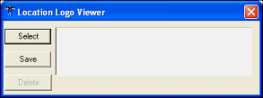
Click Select on Location Logo Viewer.
-
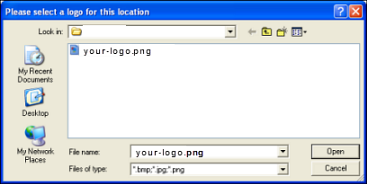
Browse to and select the logo
image.
-
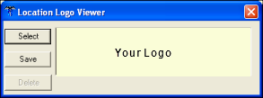
Press
Save.
Reports and Forms Instructions
Reports:
Reports that can use the logo banner have a query specification to choose the logo banner option.
Forms:
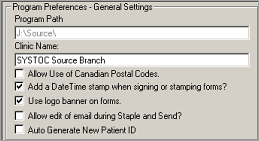
Select
Use logo banner on
forms in
to enable this option.
The table below describes what prints
depending on whether a logo banner has been uploaded to a clinic location and
the status of the
Use logo banner on
forms check box.
| What prints? | Logo banner defined for clinic location? | Use logo banner on forms check box |
|---|---|---|
| Logo banner | Defined | Checked |
| Clinic location information | Not defined | Checked |
| Clinic location information | n/a | Unchecked |