Dragging and Dropping SYSTOC Data into Excel
The step-by-step process described in this article is an alternative technique that may be particularly effective for moving data into Microsoft Excel. Technically-savvy users can further export from Excel to Microsoft Access, Word, or even Outlook address books. Please note that SYSTOC users with Citrix connections, and those who have their data system hosted by UL EHS Sustainability, may not be able to use the technique explained here.
-
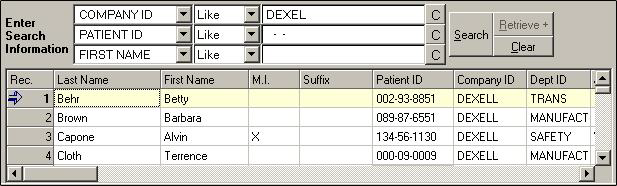
Search for the data you want to
export on the applicable
SYSTOC screen. (For example, if
you want to export Patient demographic information, search on the Patient
Summary screen.) Click the
Retrieve+
button until it is dim, indicating you have pulled all the results into the
search results grid.
-
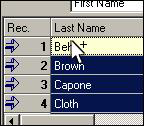
Next, move the cursor to the first
result cell in the grid. (In the example, this is the cell that has the word
Behr in it.) Move the mouse to the upper left hand corner of this actual cell,
until you see a very small plus sign (“+”) next to your mouse cursor, as shown
below.
-
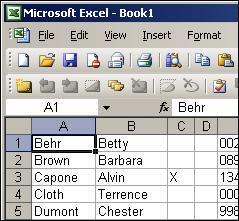
Now, with the left mouse button still
depressed, move your cursor up into cell
A1 of the blank Excel spreadsheet.
Release the left mouse button once you arrive there. This pulls the highlighted
data from
SYSTOC into Excel.